- To acquire the Talligence Connector, follow these straightforward steps:
- Access the download link: Login with the respective Talligence credentials and download the connector from the provided download link:

- Installation process: Upon downloading the setup file, double-click it to initiate the installation process. The application will seamlessly guide you through the installation steps.
- Shortcut Creation: Upon completion, a shortcut for the Talligence Connector will be conveniently placed on your computer desktop for easy access.

From the screen you downloaded the connector and started the installation setup, you can also generate your License key. On clicking the Generate button, you will get Subscription and License keys. Copy them and past in the respective textbox.

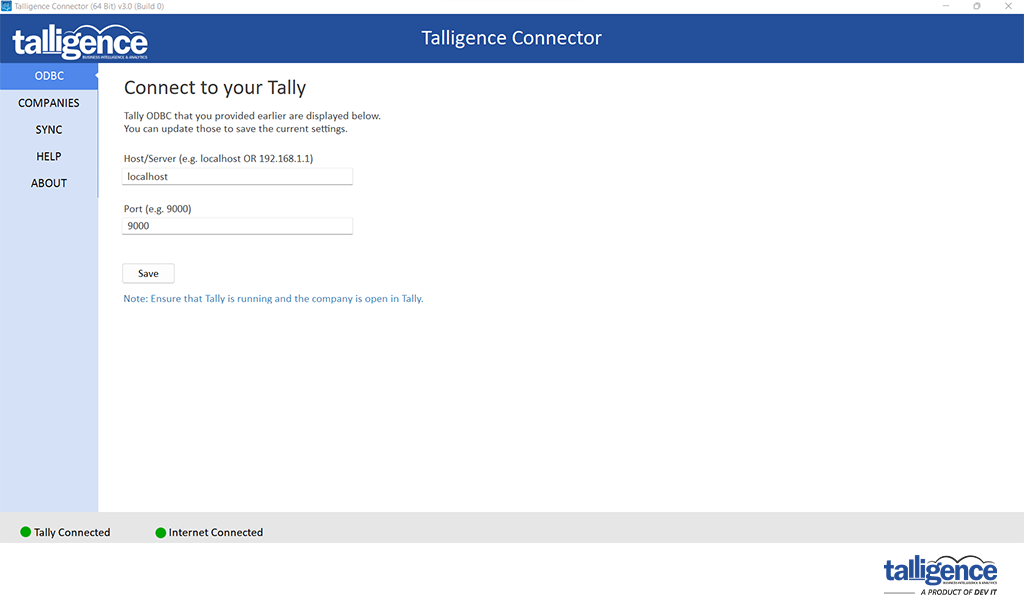
Once the connector’s initial setup is completed, you can add the Tally® location information. You can either add the local IP or if the connector is installed in the same PC, you can add as localhost also.

Once the Tally® path is provided, the Talligence connector will list the opened companies in Tally®, you can select them and add them as selected one by clicking the right arrow button.

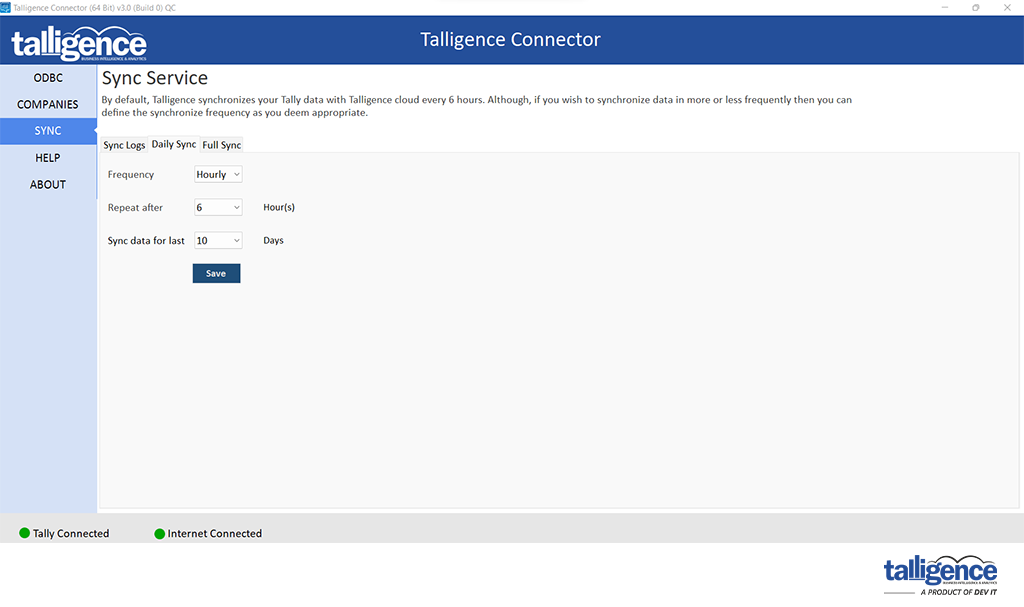
You can schedule the sync process as Hourly, Daily or Custom as you wish to synchronize your Tally® data for analysis. As default, it will sync on every 4th hour.

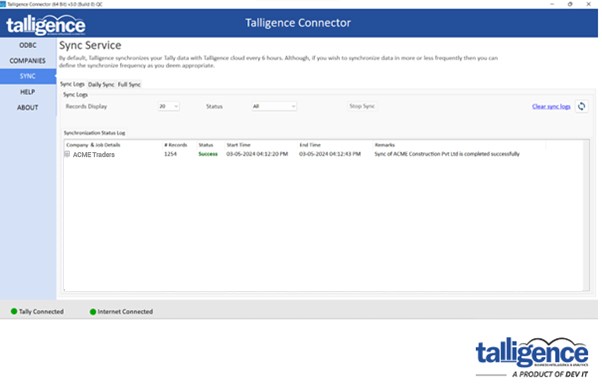
Your Talligence connector is ready to synchronize your Tally® data. It will initiate automatically and will have recurring sync based on your preferred schedule.

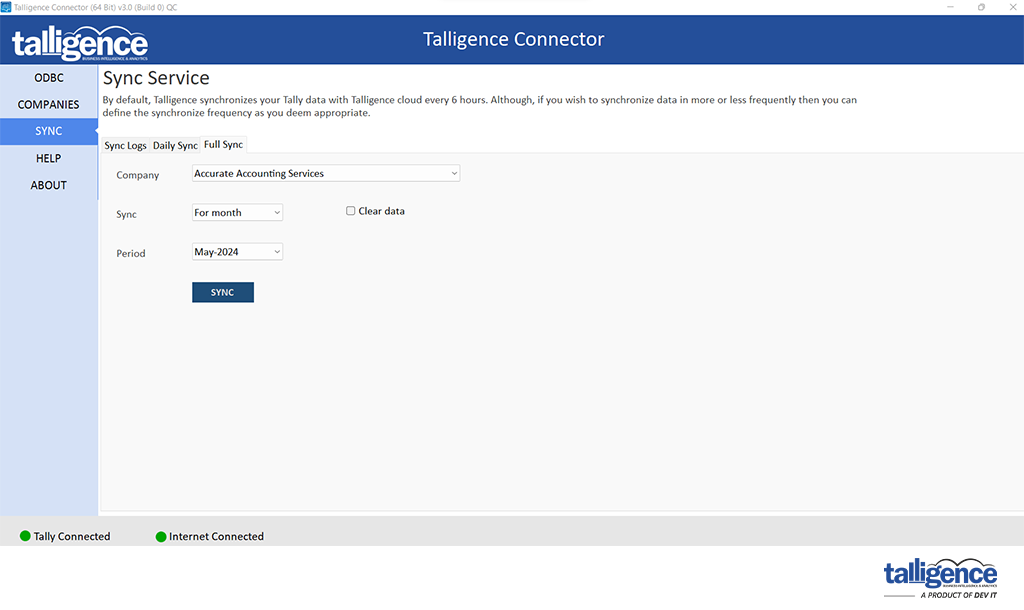
Whenever you wish to have a manual sync, go to the Full Sync tab as shown in the image above. You can select the desired company and duration as you wish for.
The Clear data option is useful when you wish to clear all the data for a preferred duration and rewrite it.