- If you change your mobile device or phone number, you can update your information within the Talligence mobile app. However, you must again undergo the mobile device validation process to ensure security and access to the app.
KB Articles
- If your mobile device or tablet is lost or stolen, you can take proactive measures to safeguard your data. By accessing the admin console, you can revoke access to the Talligence mobile app for the registered device or phone number, preventing unauthorized access and ensuring the security of your business data.
- If you encounter discrepancies in the data displayed on the mobile app compared to your Tally® data, consider the following steps:
- Check web portal: Verify if the data displayed in the web portal aligns with the figures shown in the mobile app. This can help identify if the issue is specific to the mobile app or a broader data synchronization issue.
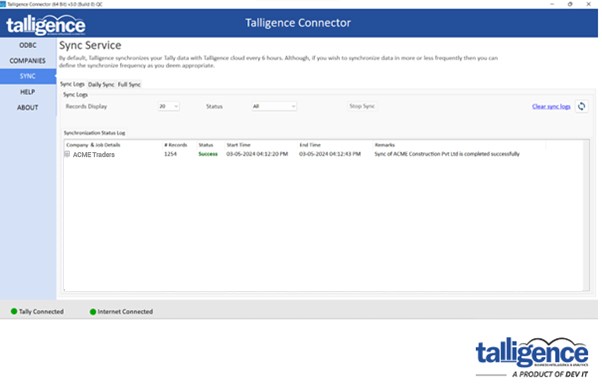
- Connector status: Ensure that the Talligence connector, responsible for syncing data with the Tally® server, is operational and properly connected. If the connector is not syncing data, it could lead to discrepancies between the mobile app and the Tally® data.
- To acquire the Talligence Connector, follow these straightforward steps:
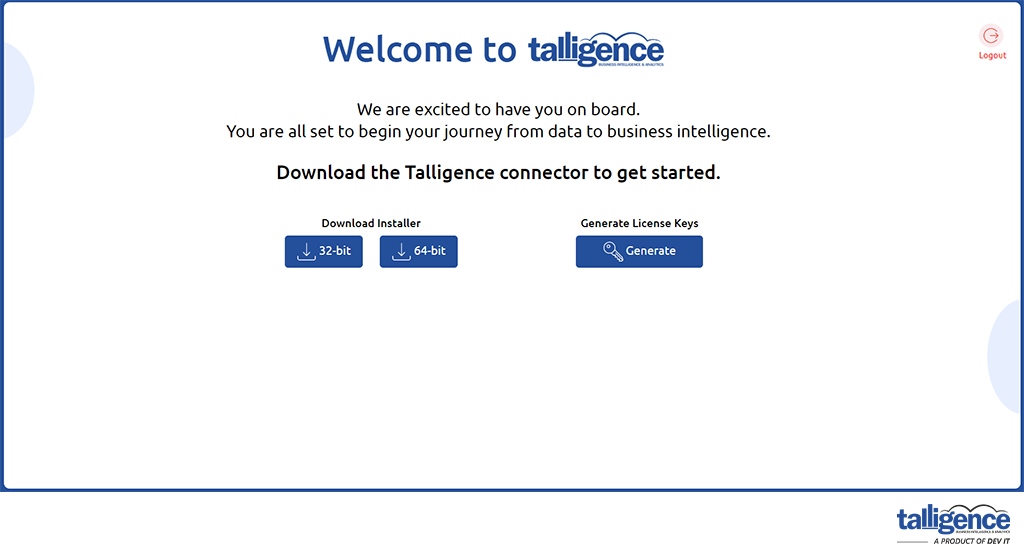
- Access the download link: Login with the respective Talligence credentials and download the connector from the provided download link:
- Installation process: Upon downloading the setup file, double-click it to initiate the installation process. The application will seamlessly guide you through the installation steps.
- Shortcut Creation: Upon completion, a shortcut for the Talligence Connector will be conveniently placed on your computer desktop for easy access.
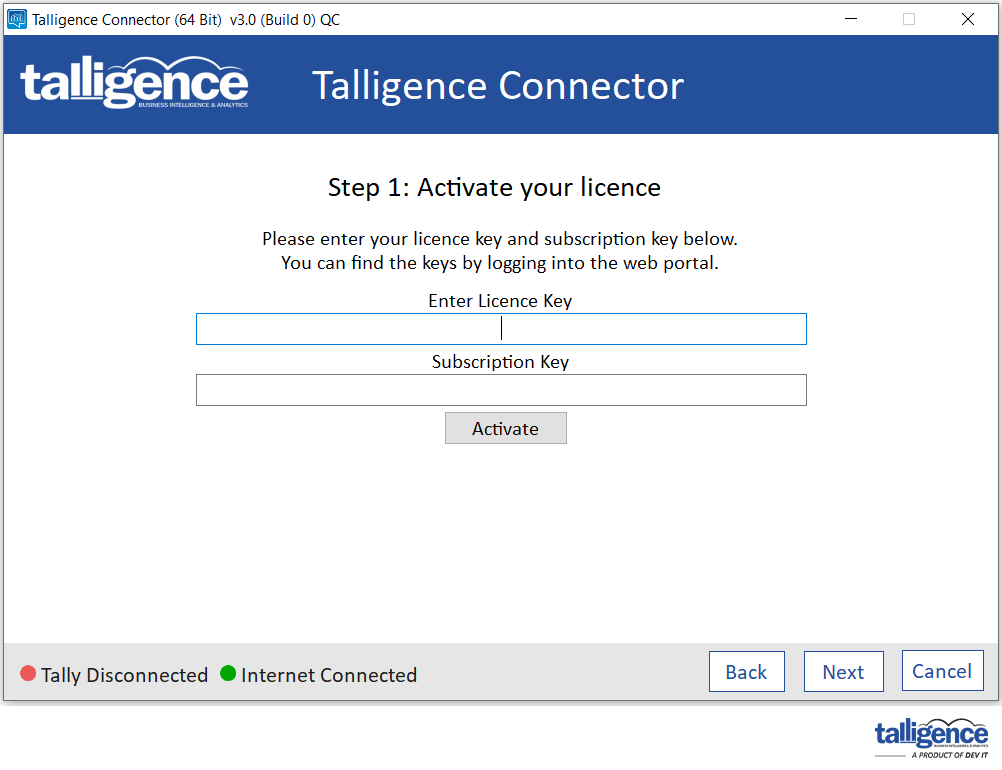
From the screen you downloaded the connector and started the installation setup, you can also generate your License key. On clicking the Generate button, you will get Subscription and License keys. Copy them and past in the respective textbox.
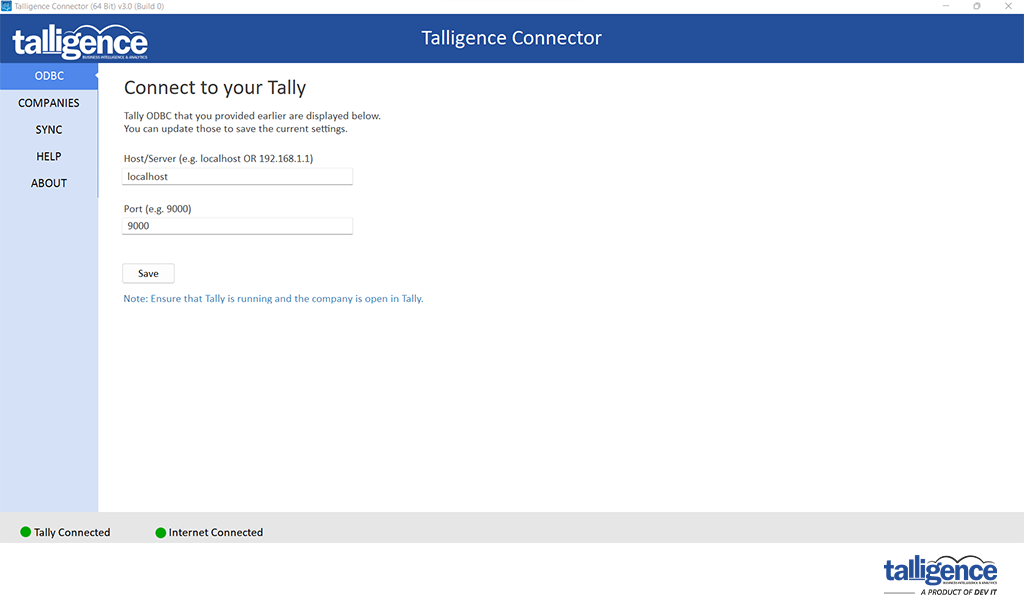
Once the connector’s initial setup is completed, you can add the Tally® location information. You can either add the local IP or if the connector is installed in the same PC, you can add as localhost also.
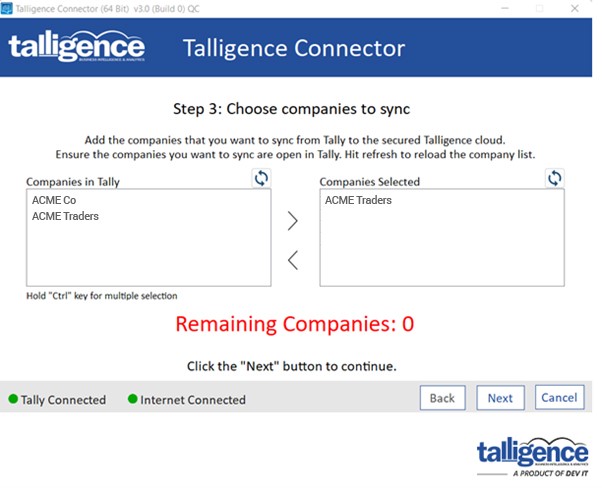
Once the Tally® path is provided, the Talligence connector will list the opened companies in Tally®, you can select them and add them as selected one by clicking the right arrow button.
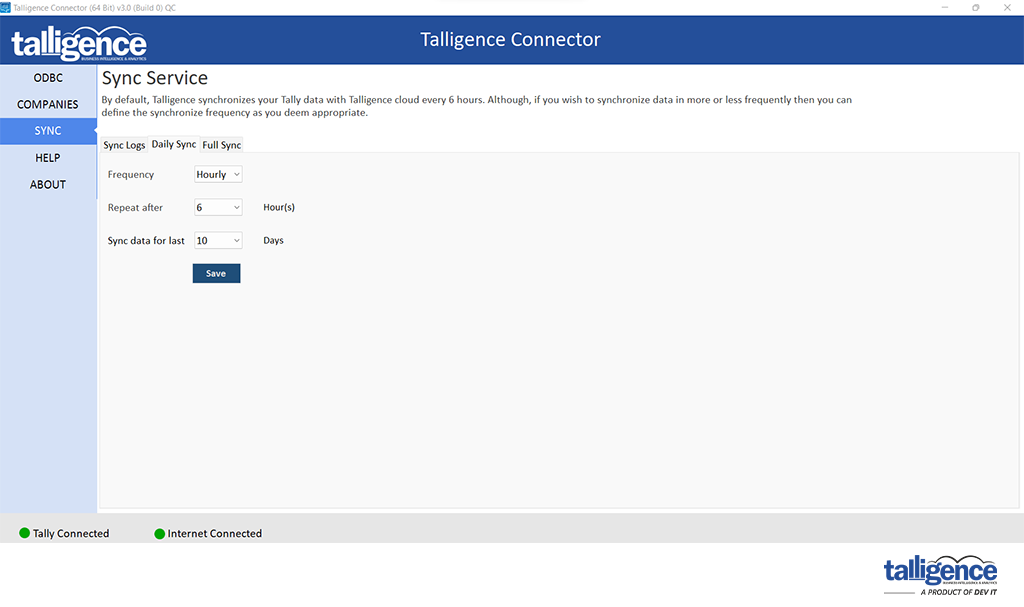
You can schedule the sync process as Hourly, Daily or Custom as you wish to synchronize your Tally® data for analysis. As default, it will sync on every 4th hour.
Your Talligence connector is ready to synchronize your Tally® data. It will initiate automatically and will have recurring sync based on your preferred schedule.
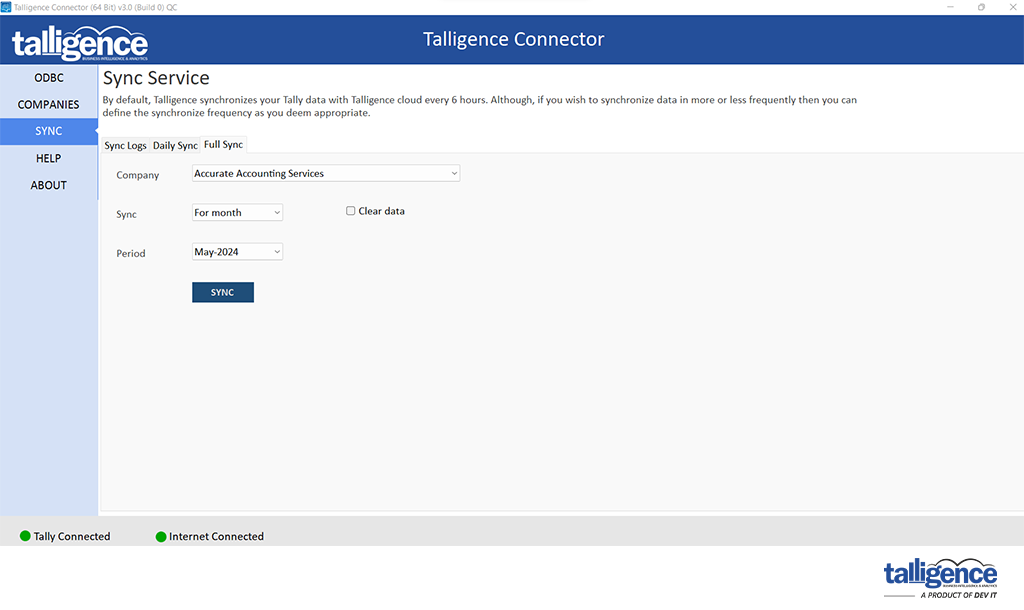
Whenever you wish to have a manual sync, go to the Full Sync tab as shown in the image above. You can select the desired company and duration as you wish for.
The Clear data option is useful when you wish to clear all the data for a preferred duration and rewrite it.
- Ensuring optimal performance necessitates meeting the following minimum system requirements:
- Operating system: Windows Server 2008 R2 or newer OR Windows 7 or later (64-bit recommended)
- RAM: Minimum 4GB, with 8GB recommended
- Hard disk: SSD recommended for handling large datasets
- Disk space: At least 300MB of free disk space
- Processor: For handling extensive databases, an i5/i7 processor with a minimum of 4 cores is recommended.
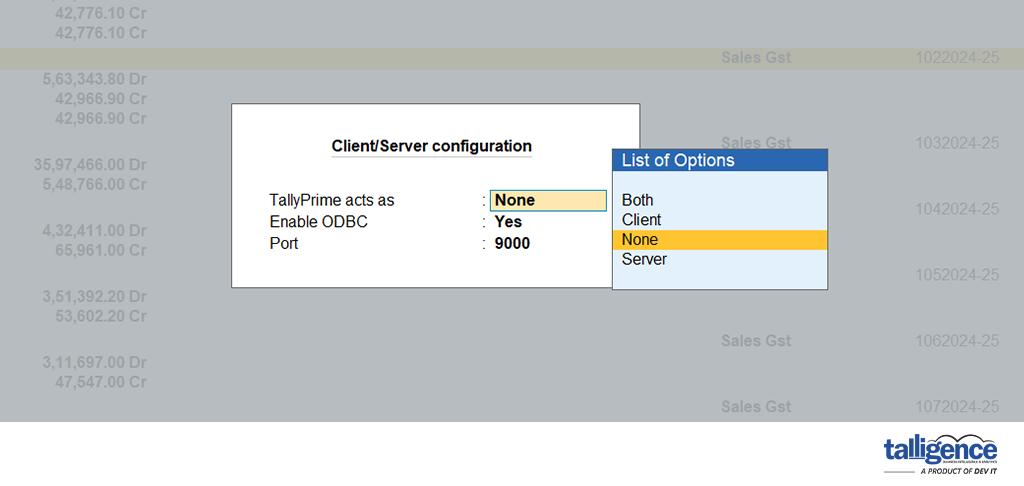
- To verify the status of the ODBC port in Tally® ERP:
- Navigate to Help (F1) -> Settings (S) -> Connectivity (N).
- Select the Client/Server configuration option and check if the “Enable ODBC” option is set to Yes or No.
- Encountering a “Windows protected your PC” alert during installation can be quickly addressed:
- Click on “More Info” to expand the options.
- Select “Run Anyway” to proceed with the installation.
- Optionally, exclude the Talligence Connector from Windows security settings to prevent future alerts.
- How can I update my Talligence connector?
- If you have installed the Talligence Connector, you will receive notifications about new Talligence Connector updates. Click on the update button within the notification to commence the update process. This ensures that you have access to the latest features and enhancements.
- To connect Tally® deployed on AWS cloud, follow these steps provided:
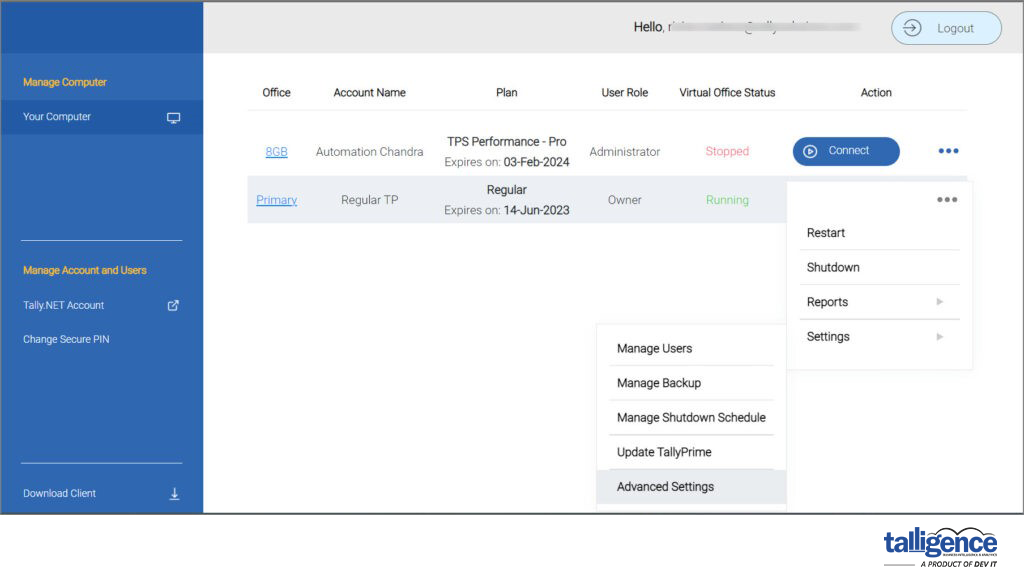
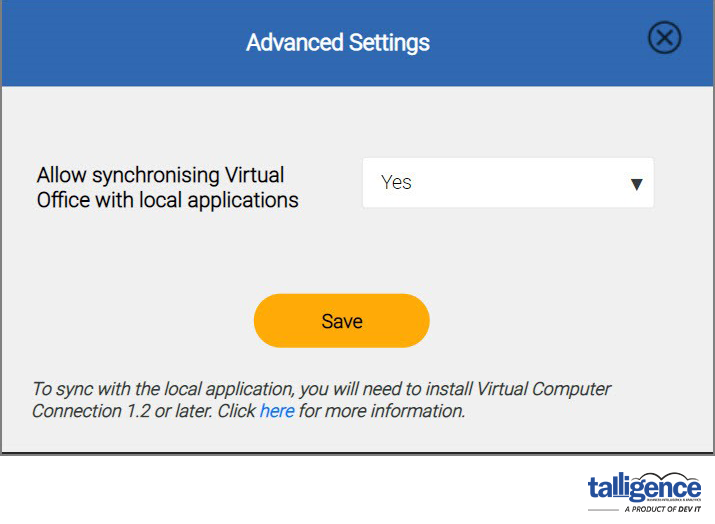
- Enable local application: Access the SSP portal and enable the Sync with Local application option for the desired user.
- Download virtual computer connection: Install the virtual computer connection application to establish a connection with Tally® deployed on the AWS cloud.
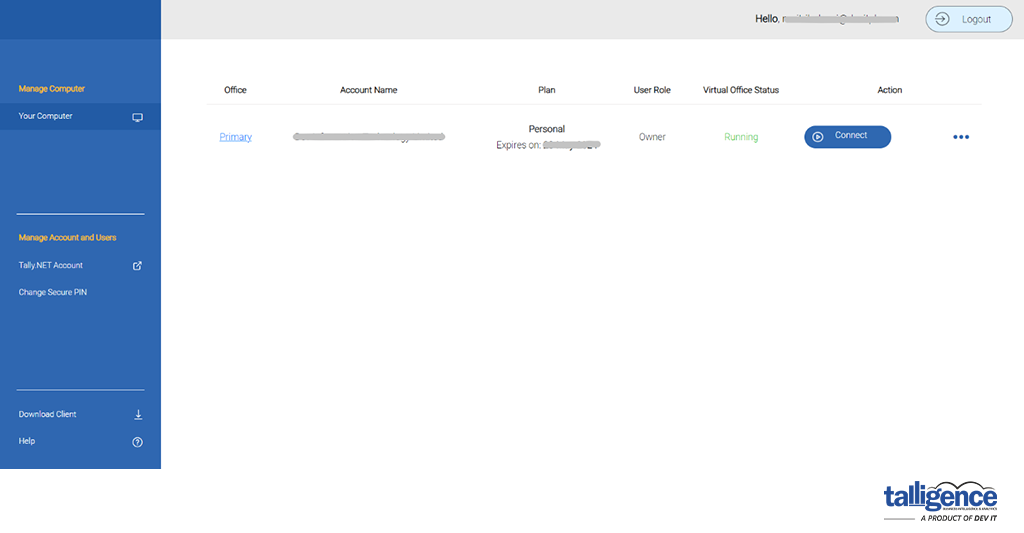
- Initiate connection: Log in with the user credentials and secure code, start Tally® in the virtual computer, and verify the connection.
- Configure Talligence Connector: To initiate data sync seamlessly, set up the Talligence Connector with the virtual computer’s host name (localhost) and port configured.
- Data sync issues can arise due to various factors. Here’s a checklist to troubleshoot the problem:
- Open Companies in Tally®: Ensure all companies are open in Tally® for syncing with Talligence.
- ODBC Configuration: Verify that all companies are open in the same Tally® instance where ODBC is enabled. If companies are open in separate Tally® instances on the same PC, only those open in the Tally® with ODBC enabled will sync.
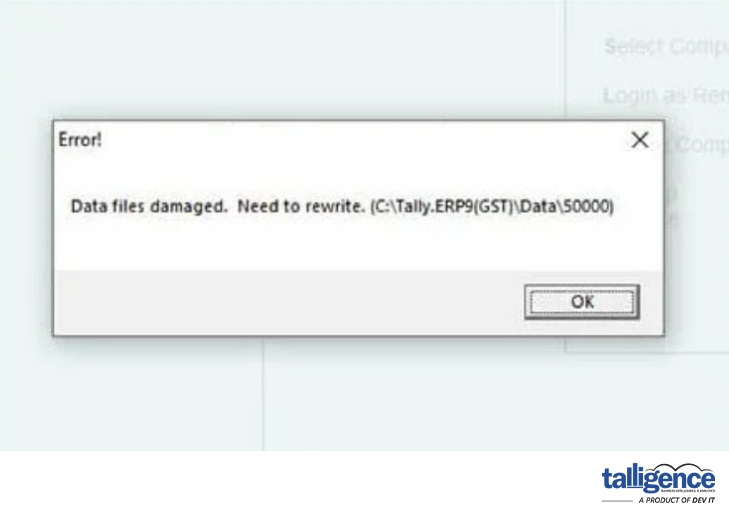
- Data corruption in Tally® can lead to errors like “Files Damaged” and hinder data synchronization. Follow these steps to address the issue:
- Rewrite data: Attempt to rewrite data in Tally® to resolve corruption issues.
- Restore backup: If the error persists, restore from a previously saved backup and retry syncing data.
- Create a new company: As a last resort, export all Tally® data, create a new company, and import the data. Then, sync the new company with the Talligence Connector to restore functionality.